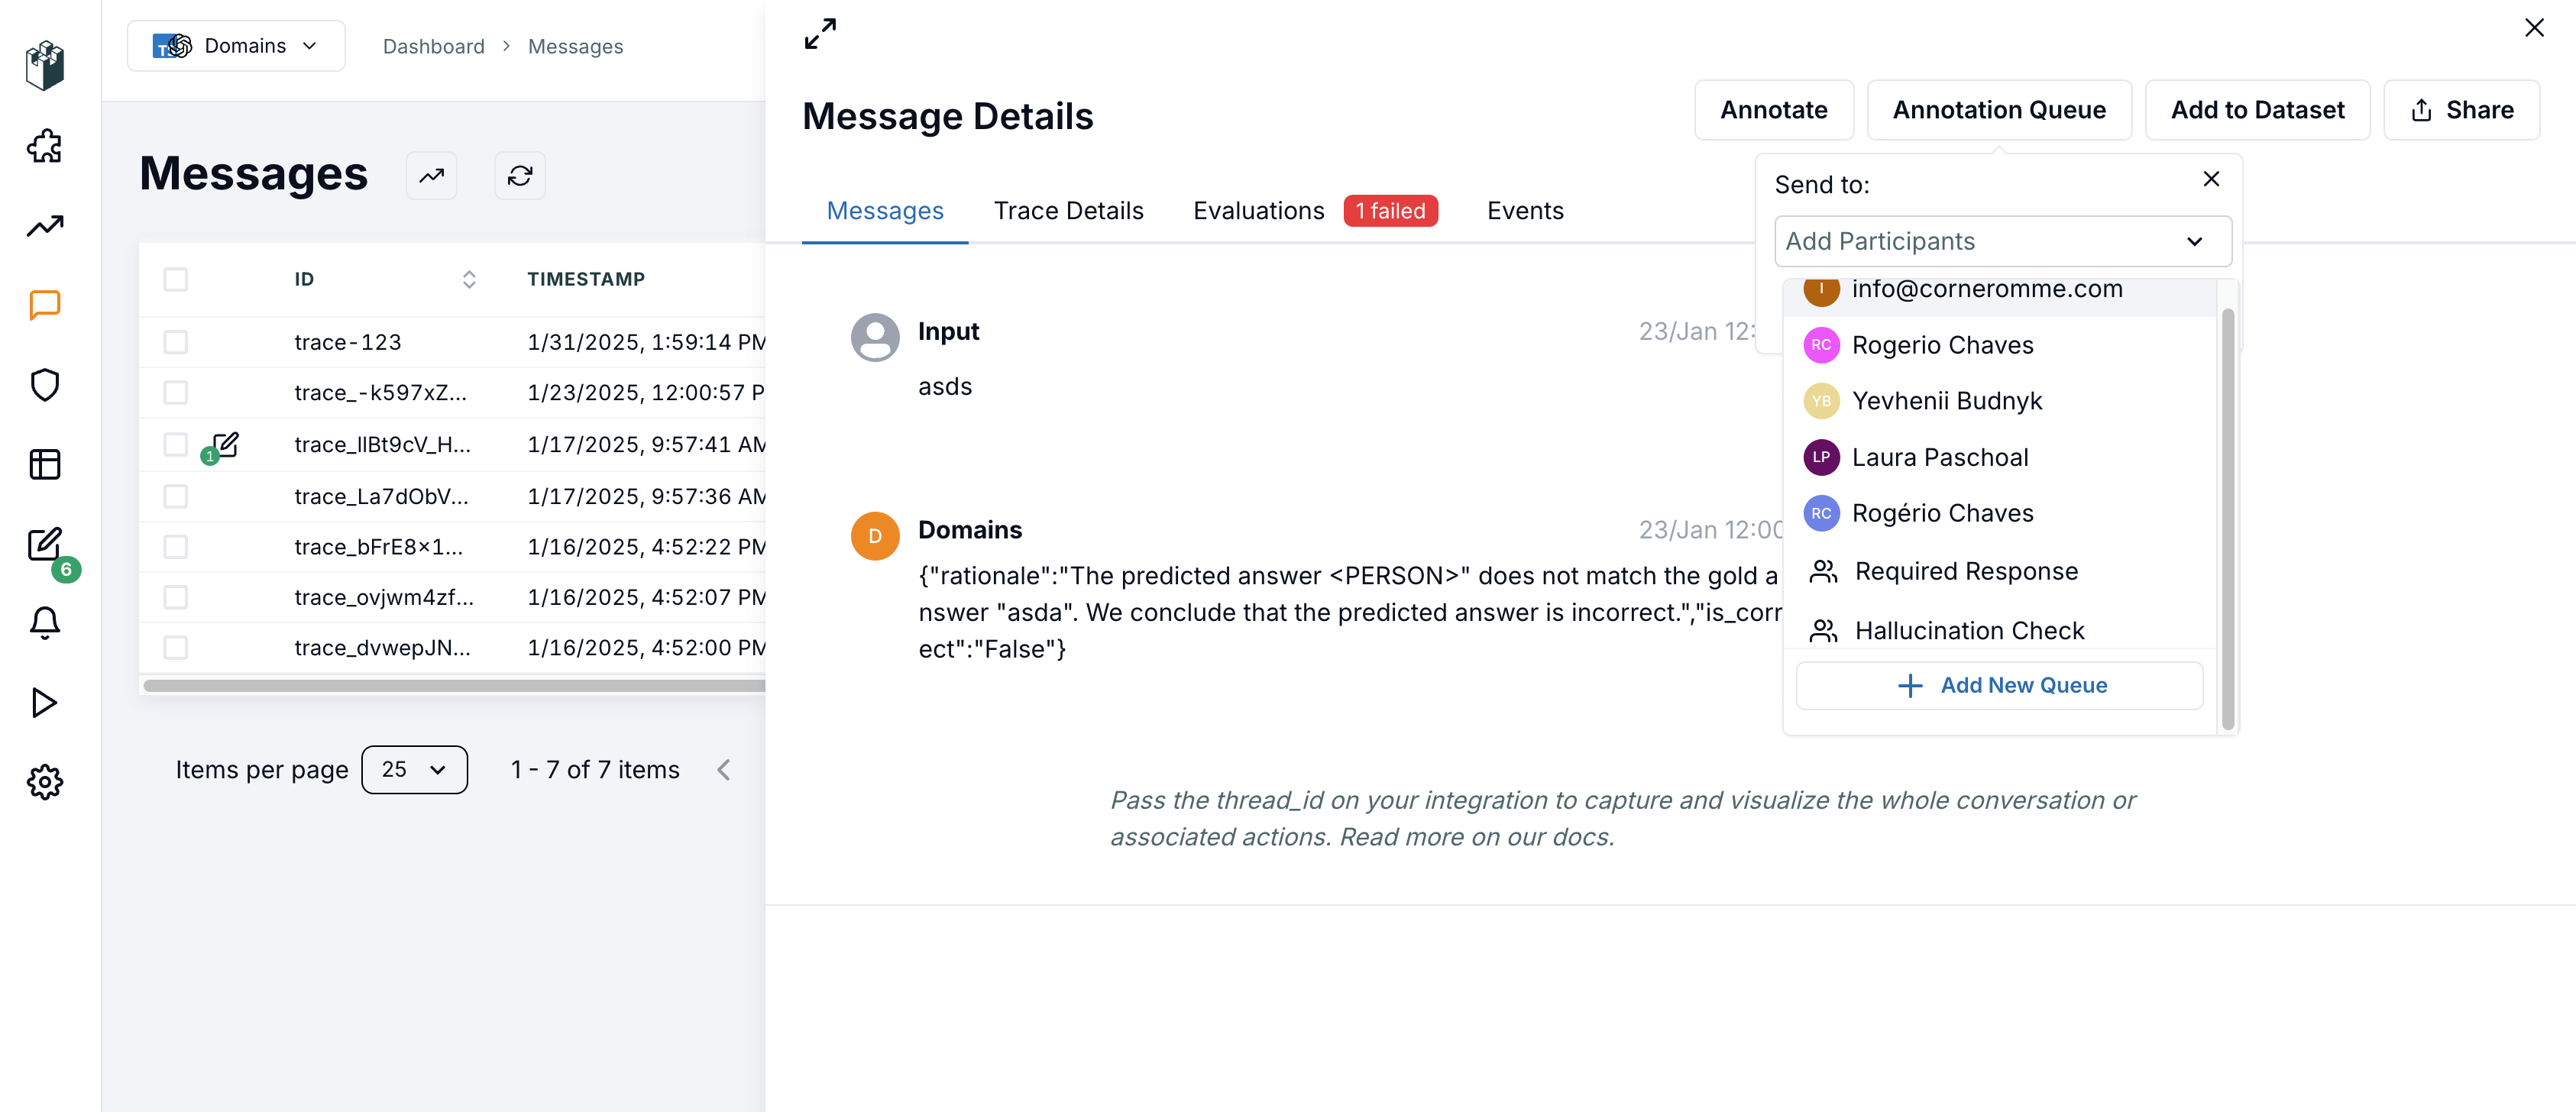
Create annotations on messages
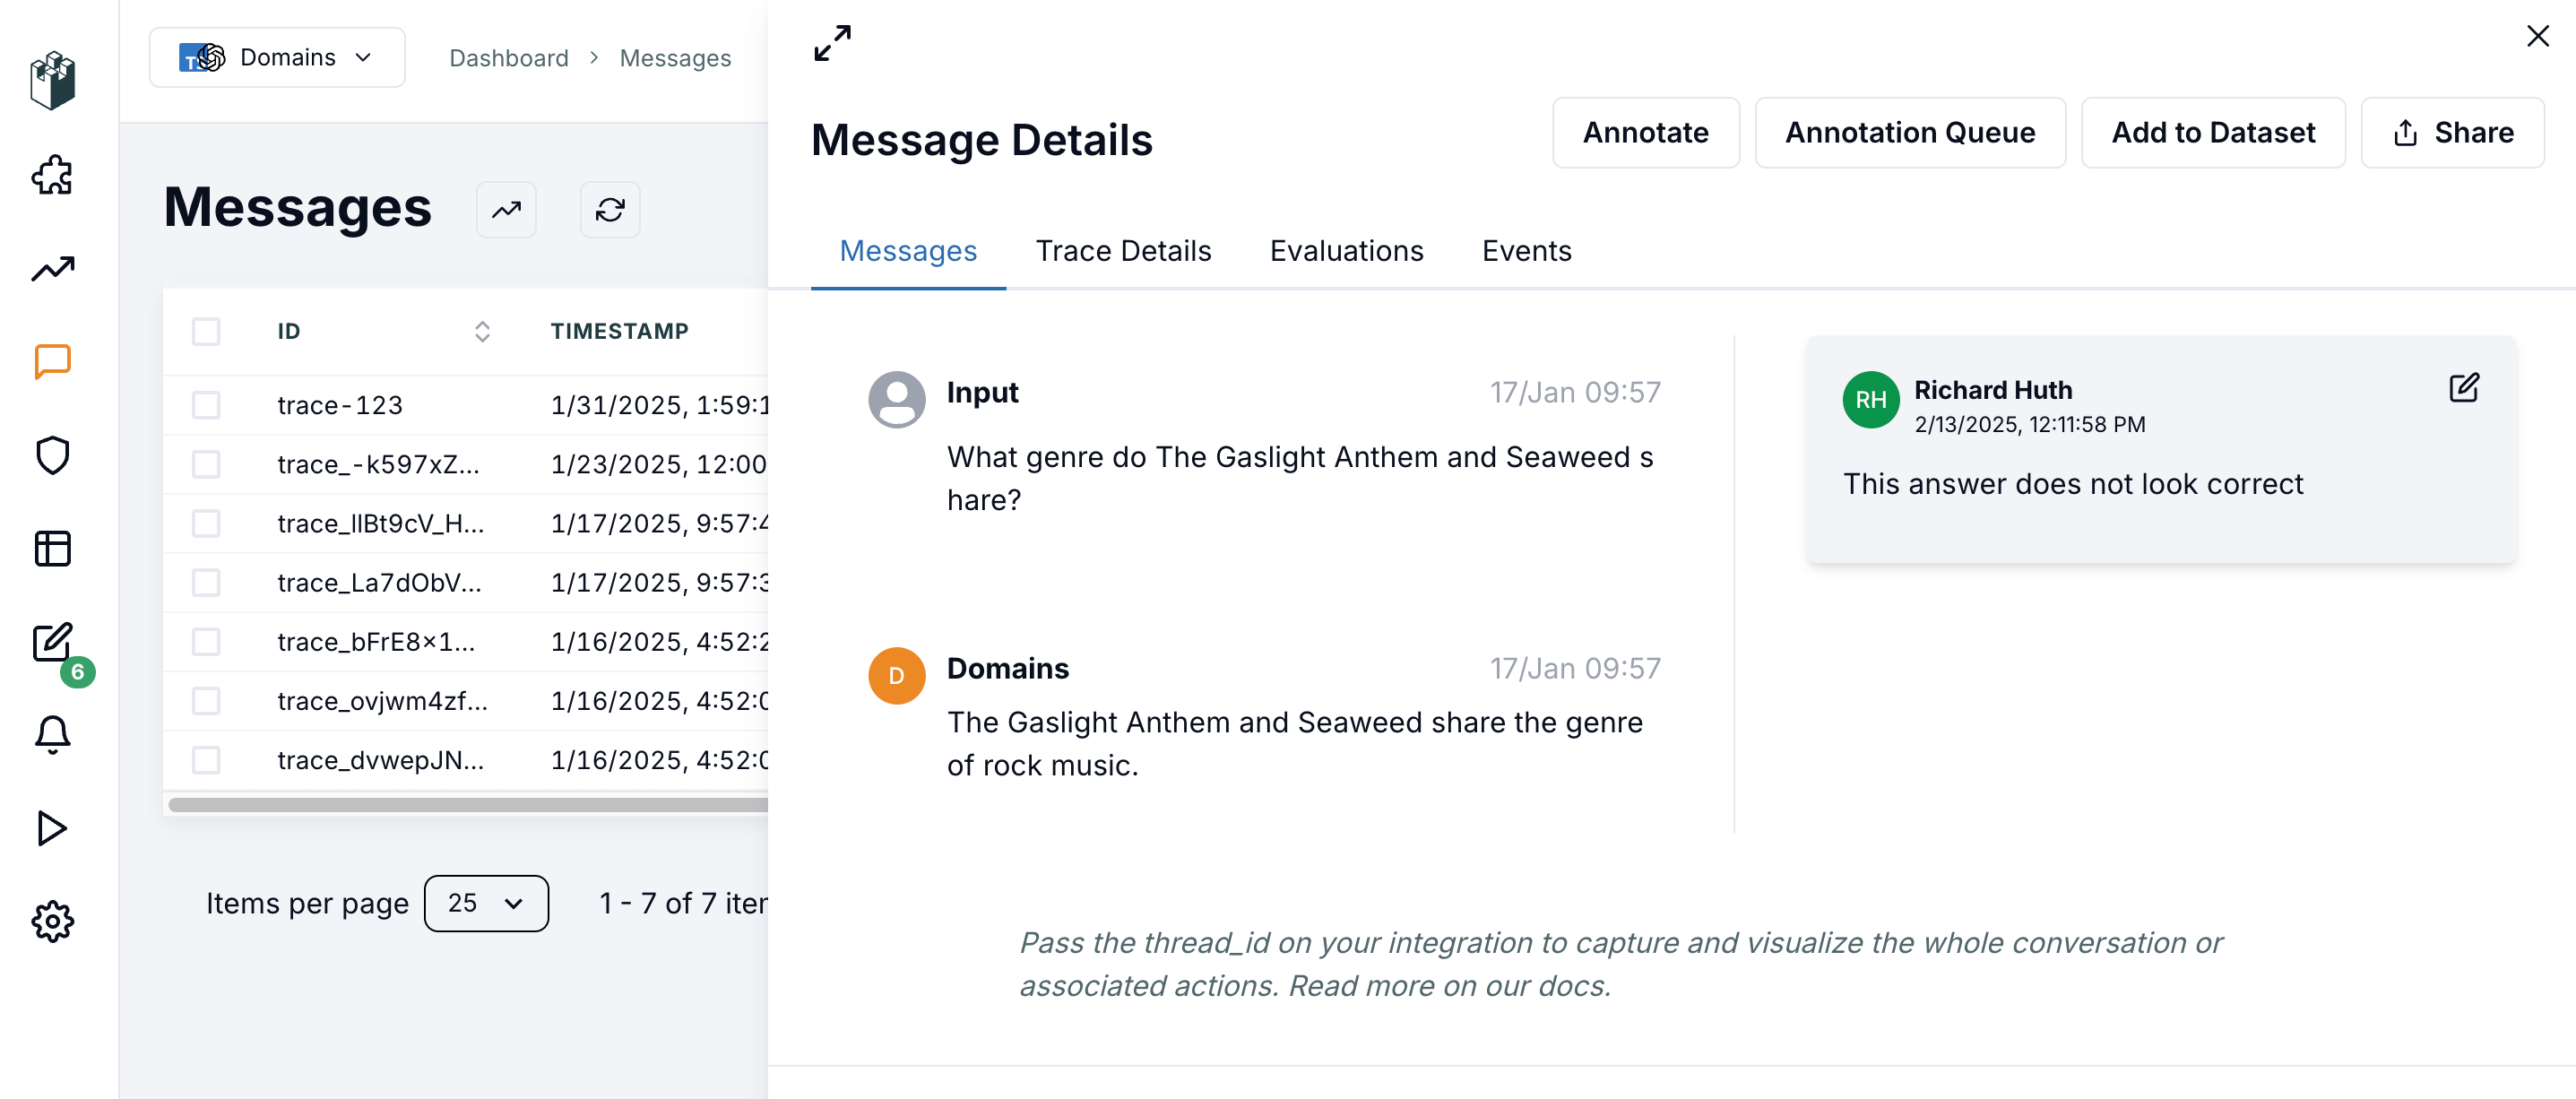
With annotations, you can add additional information to messages. This can be useful to comment on or add any other information that you want to add to a message for further analysis. We have also implemented the option to add a scoring system for each annotation, more information about this can be found in the Annotation Scoring section If you want to add an annotation to a queue, you can do so by clicking on the add to queue button to send the messages to the queue for later analysis. You can create queues and add members to them on the the main annotations page. More information about this can be found in the Annotation Queues section.Usage
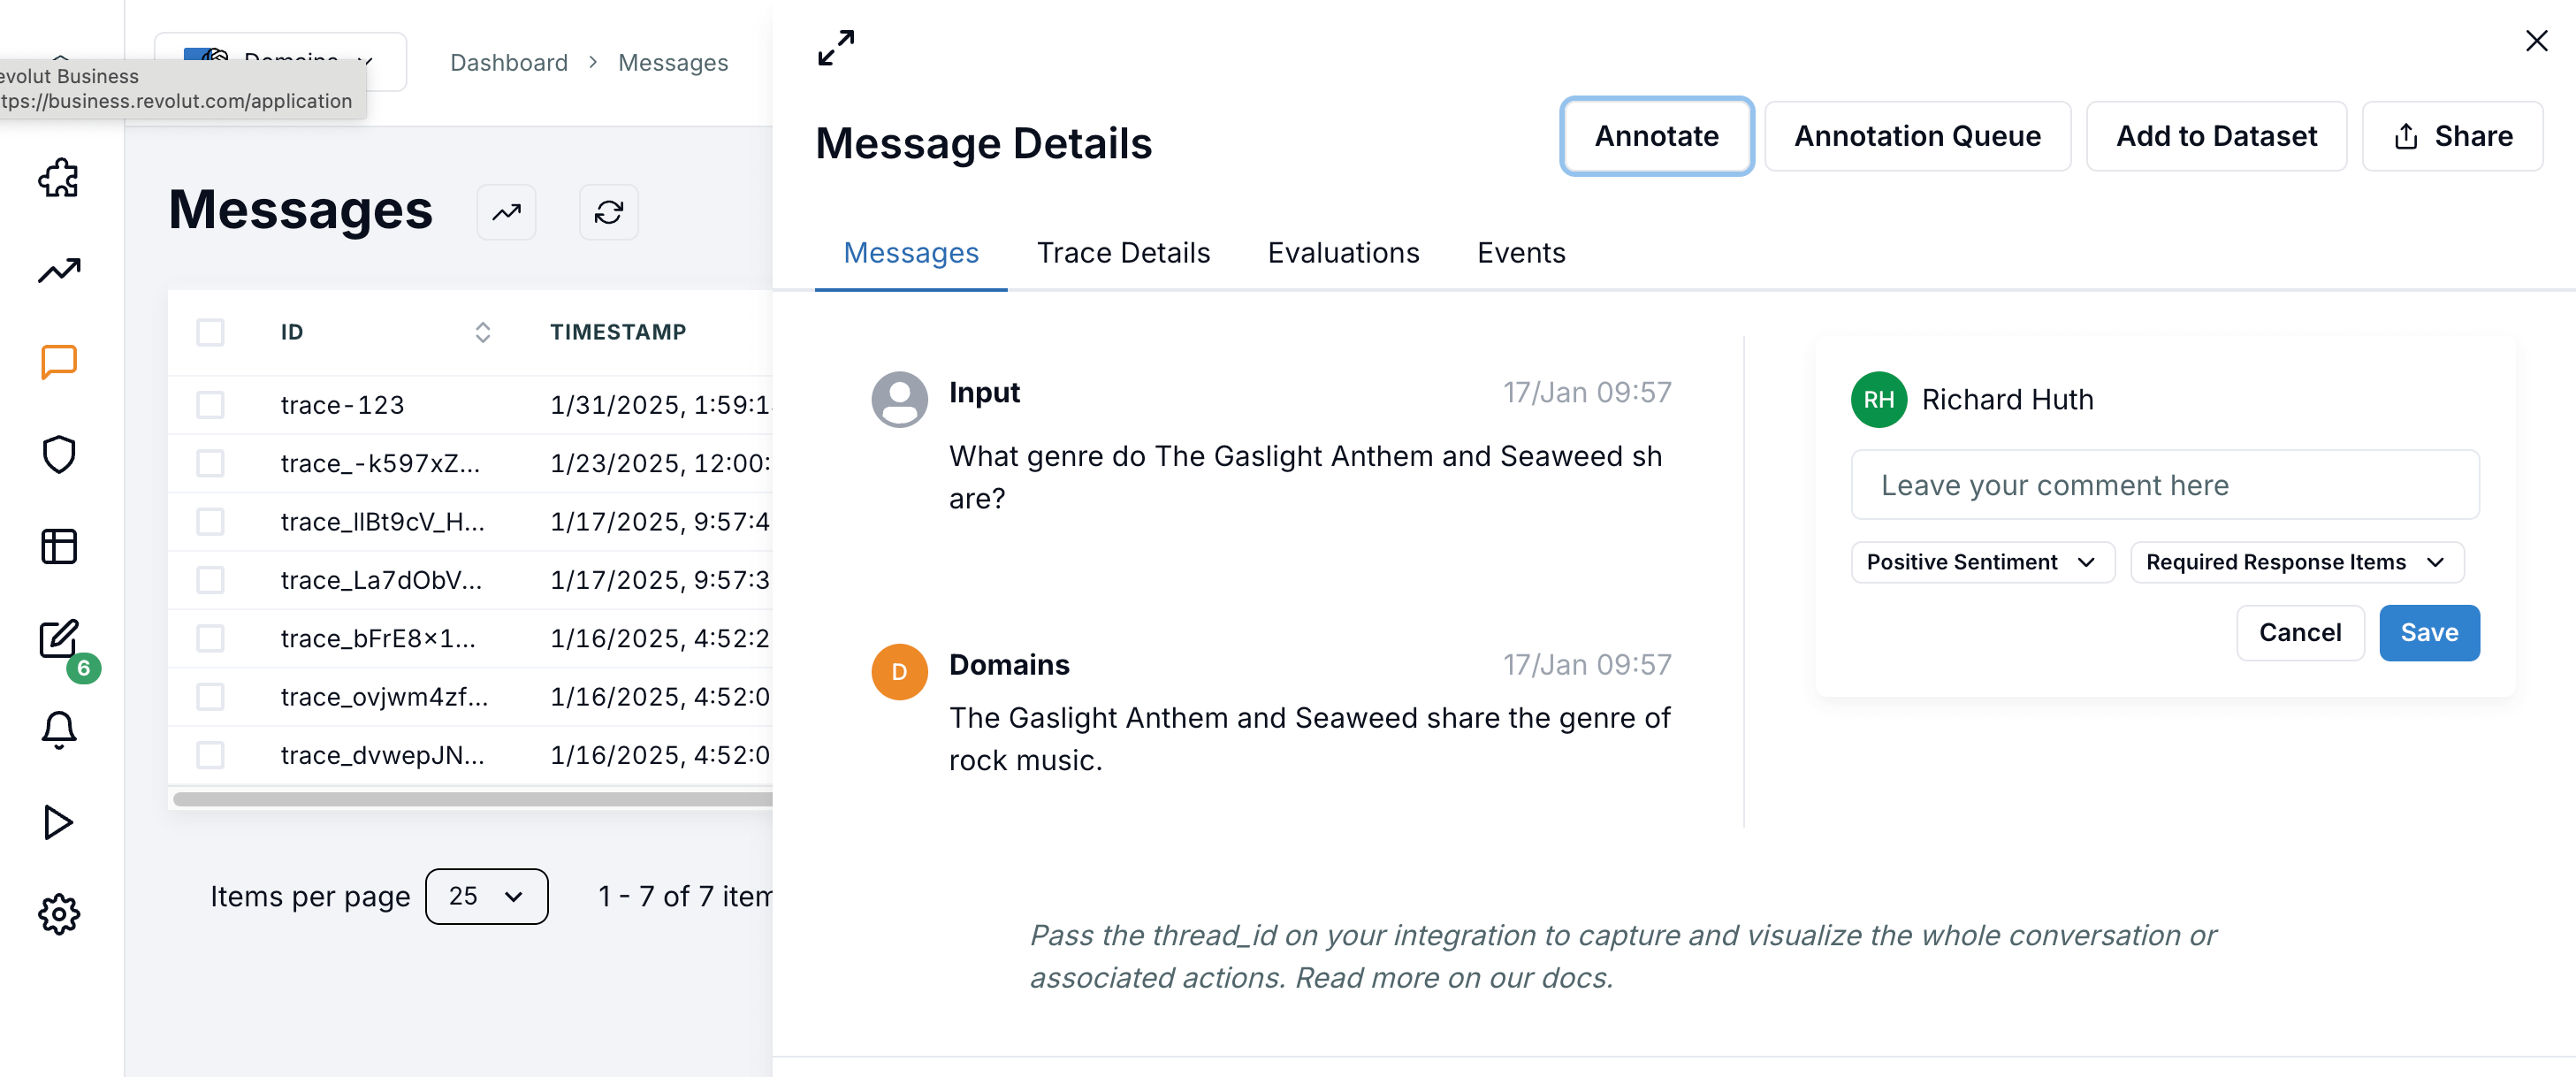
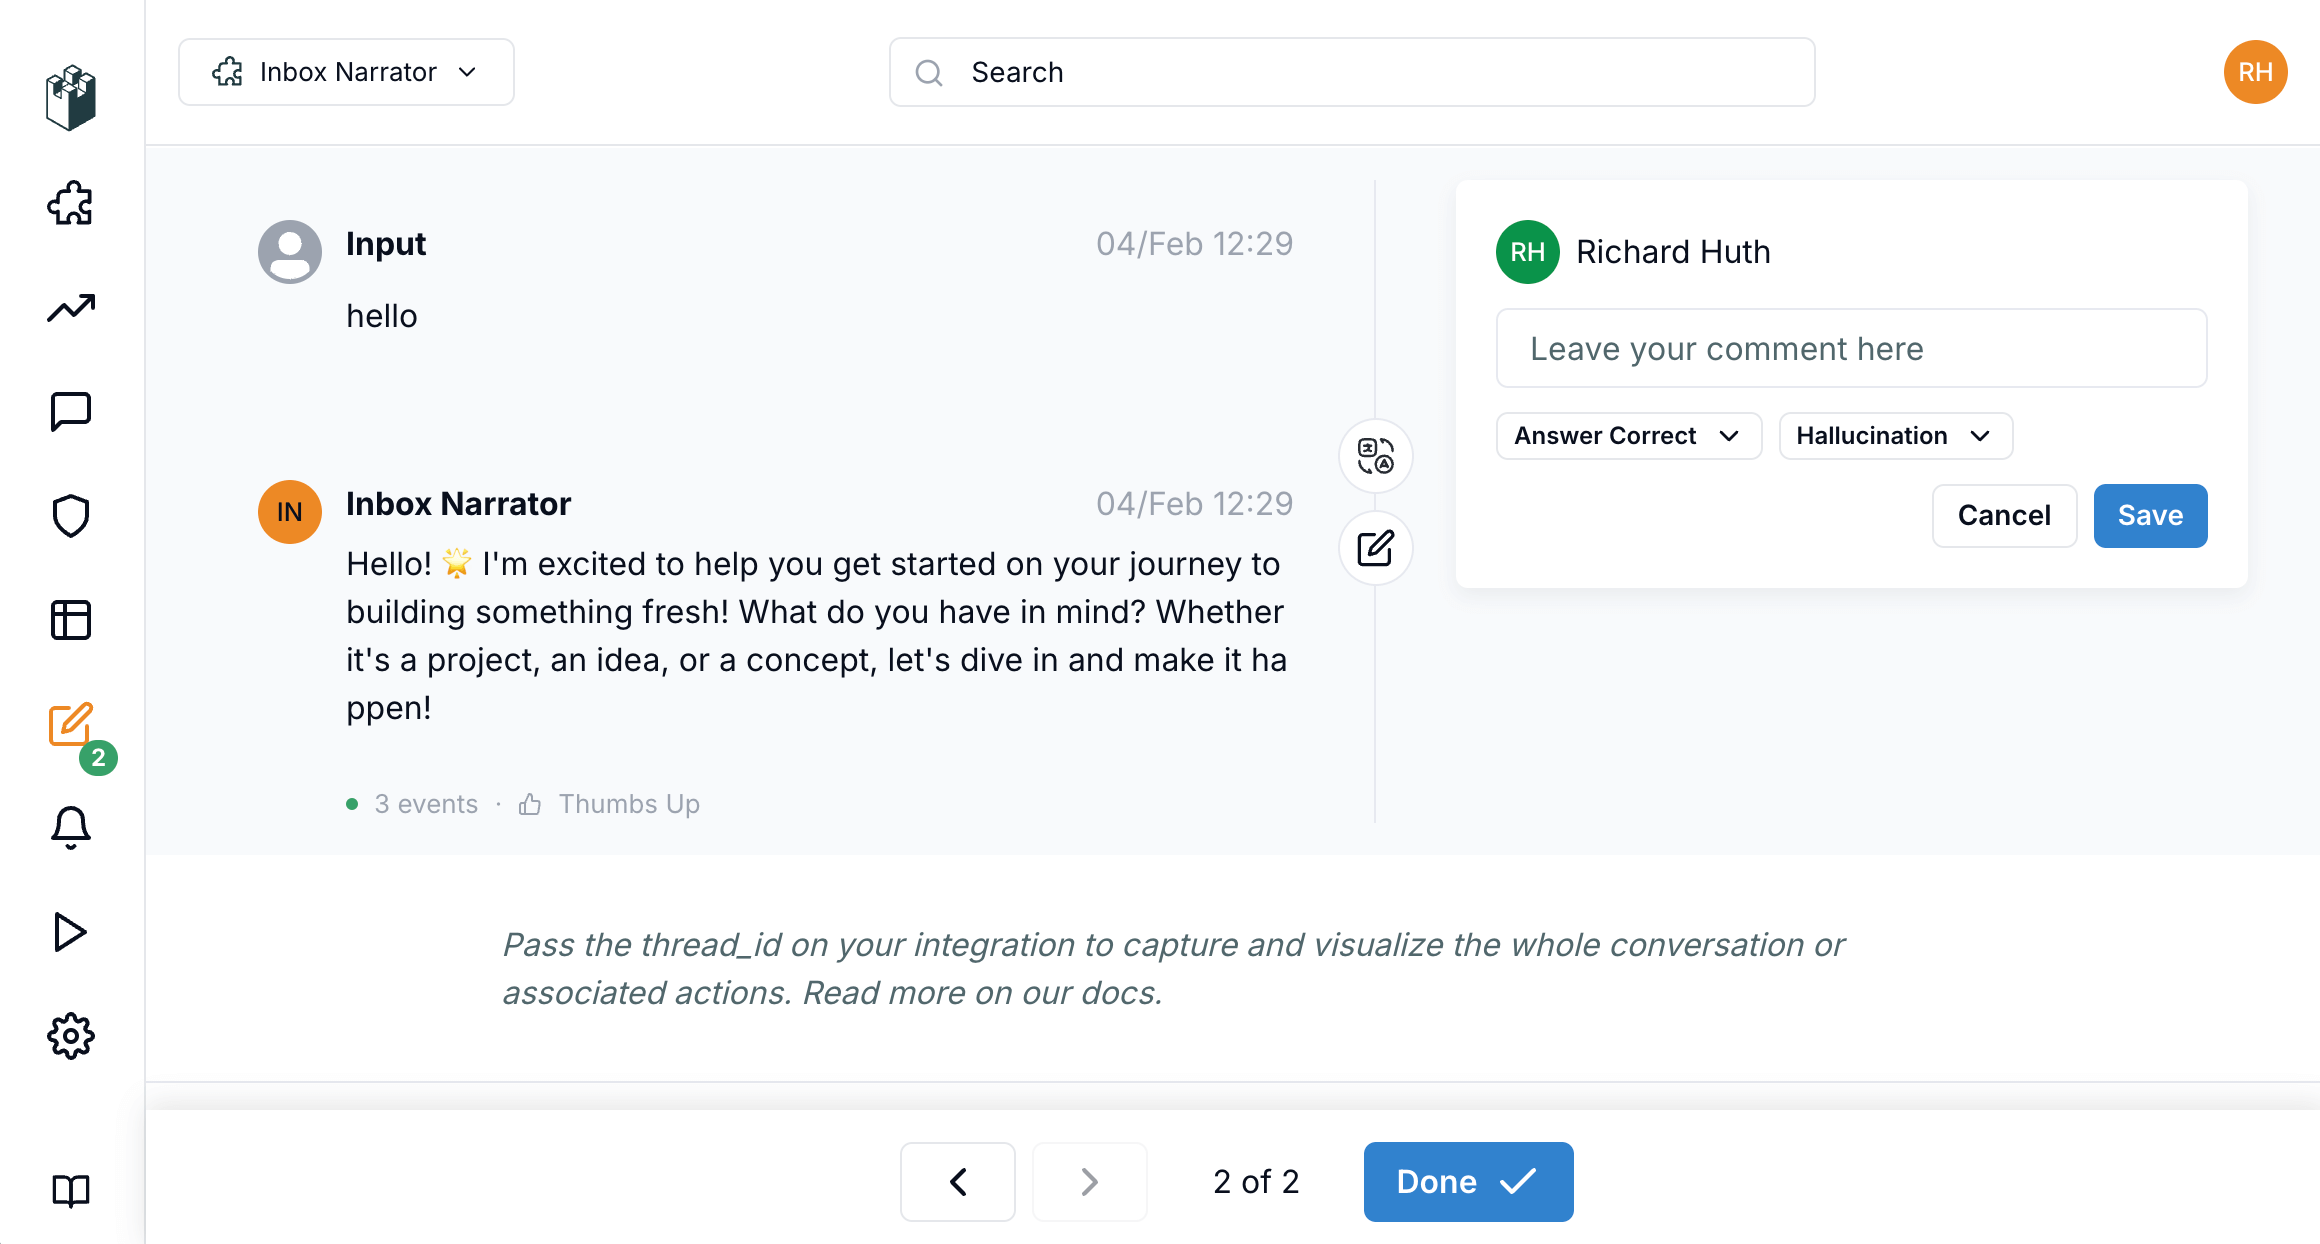
To create an annotation, follow these steps:- Click the message you want to annotate on and a Trace details drawer will open.
- On the top right, click the annotation button.
- Here you will be able to add a comment, a link or any other information that you want to add to the message.
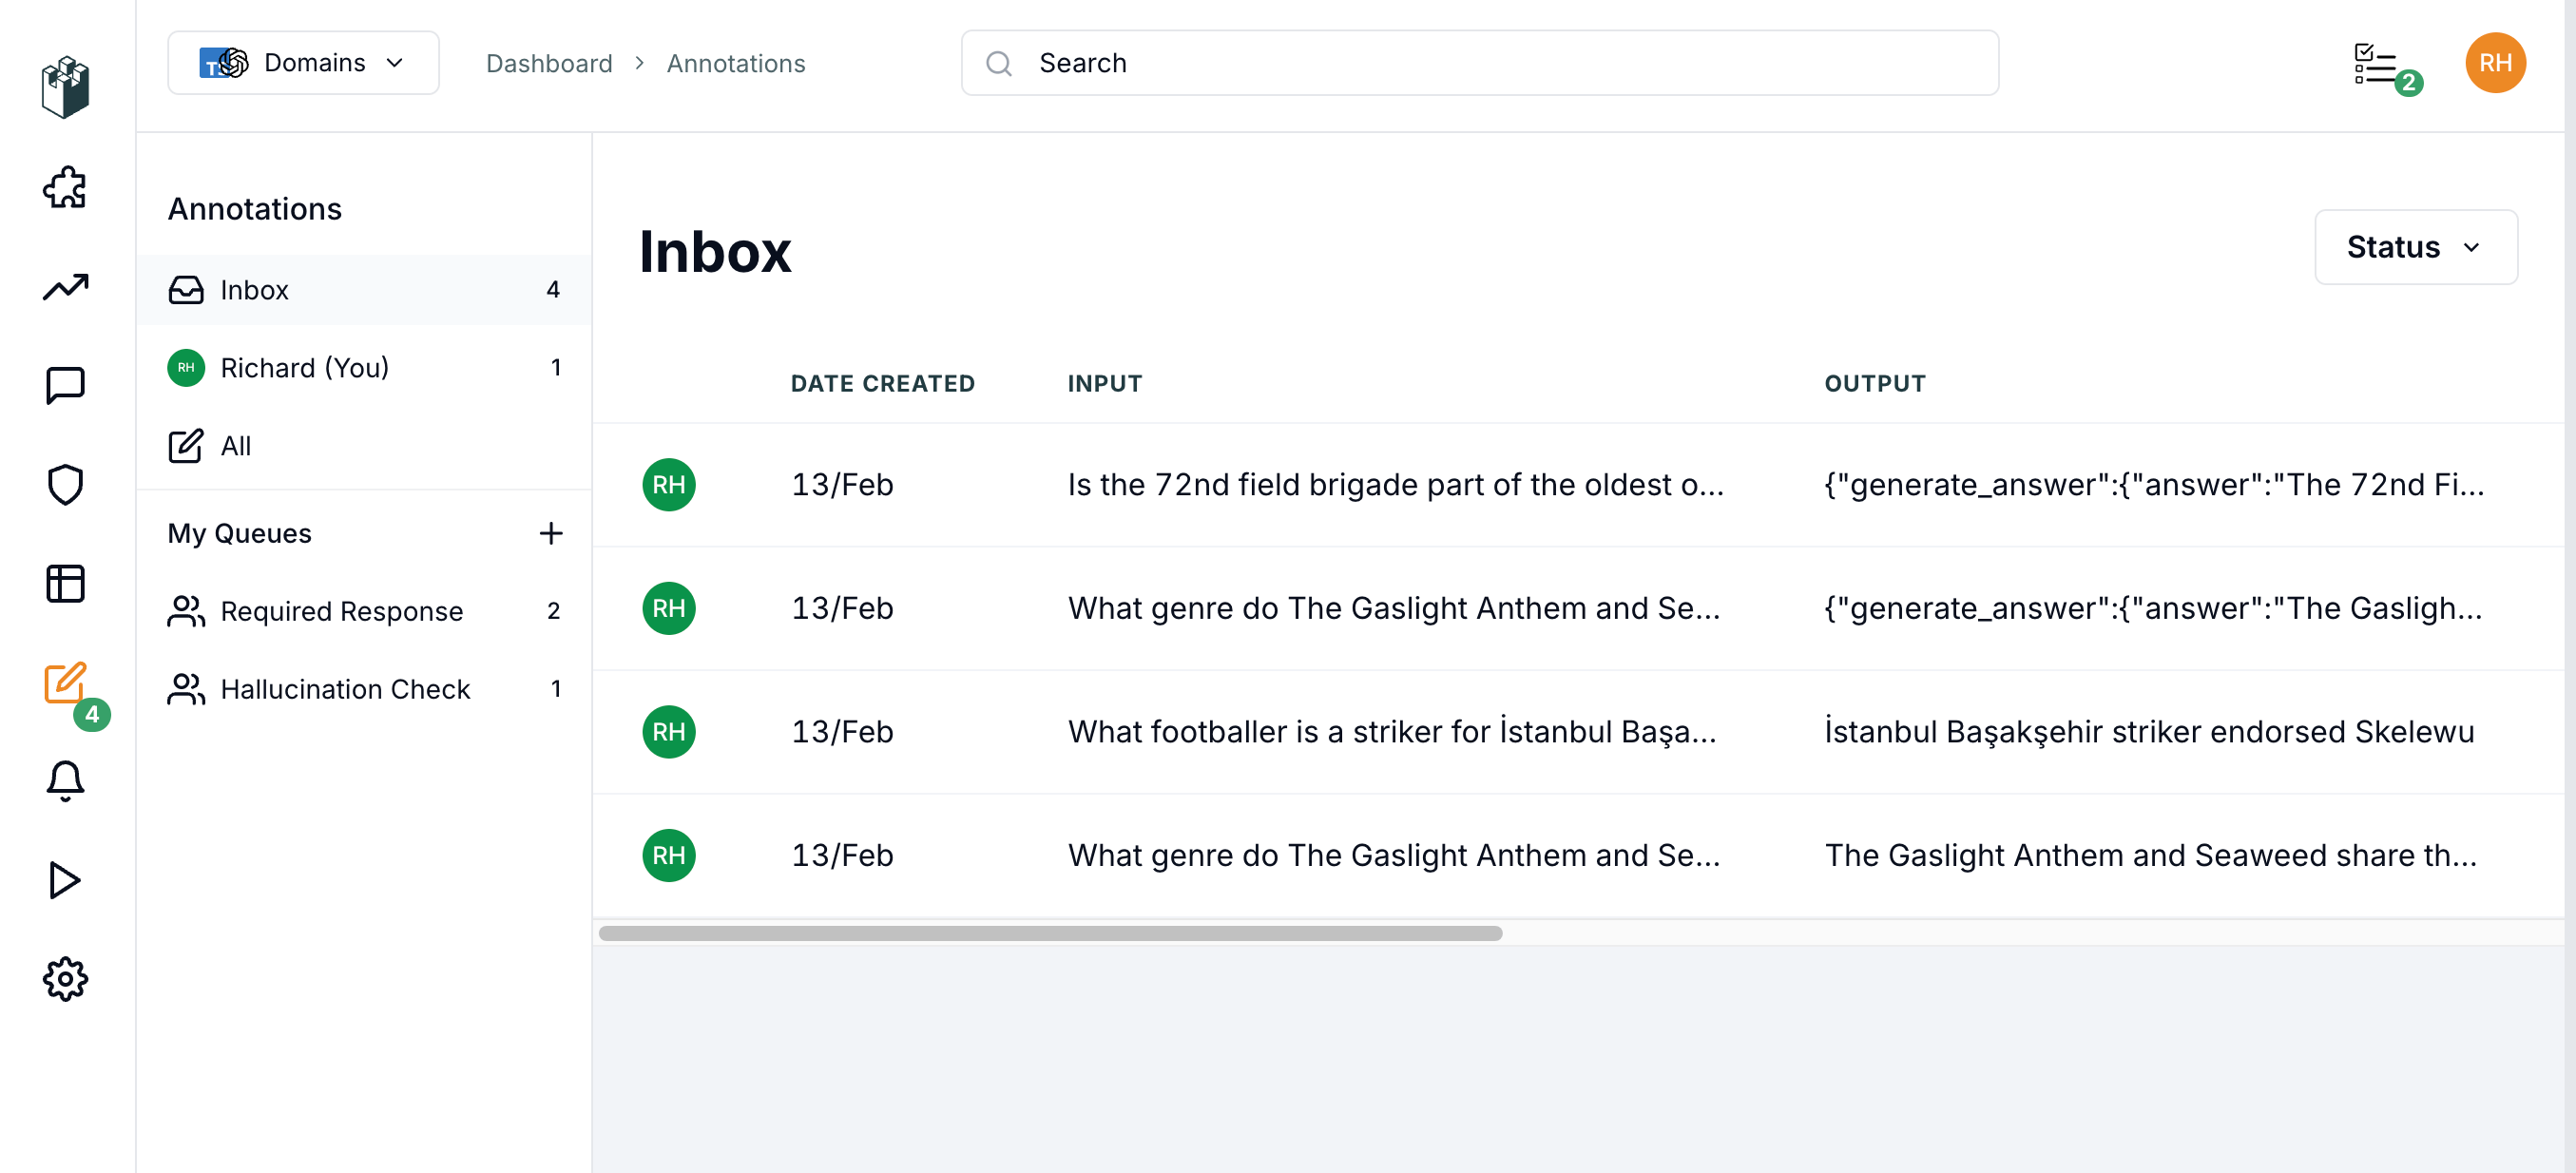
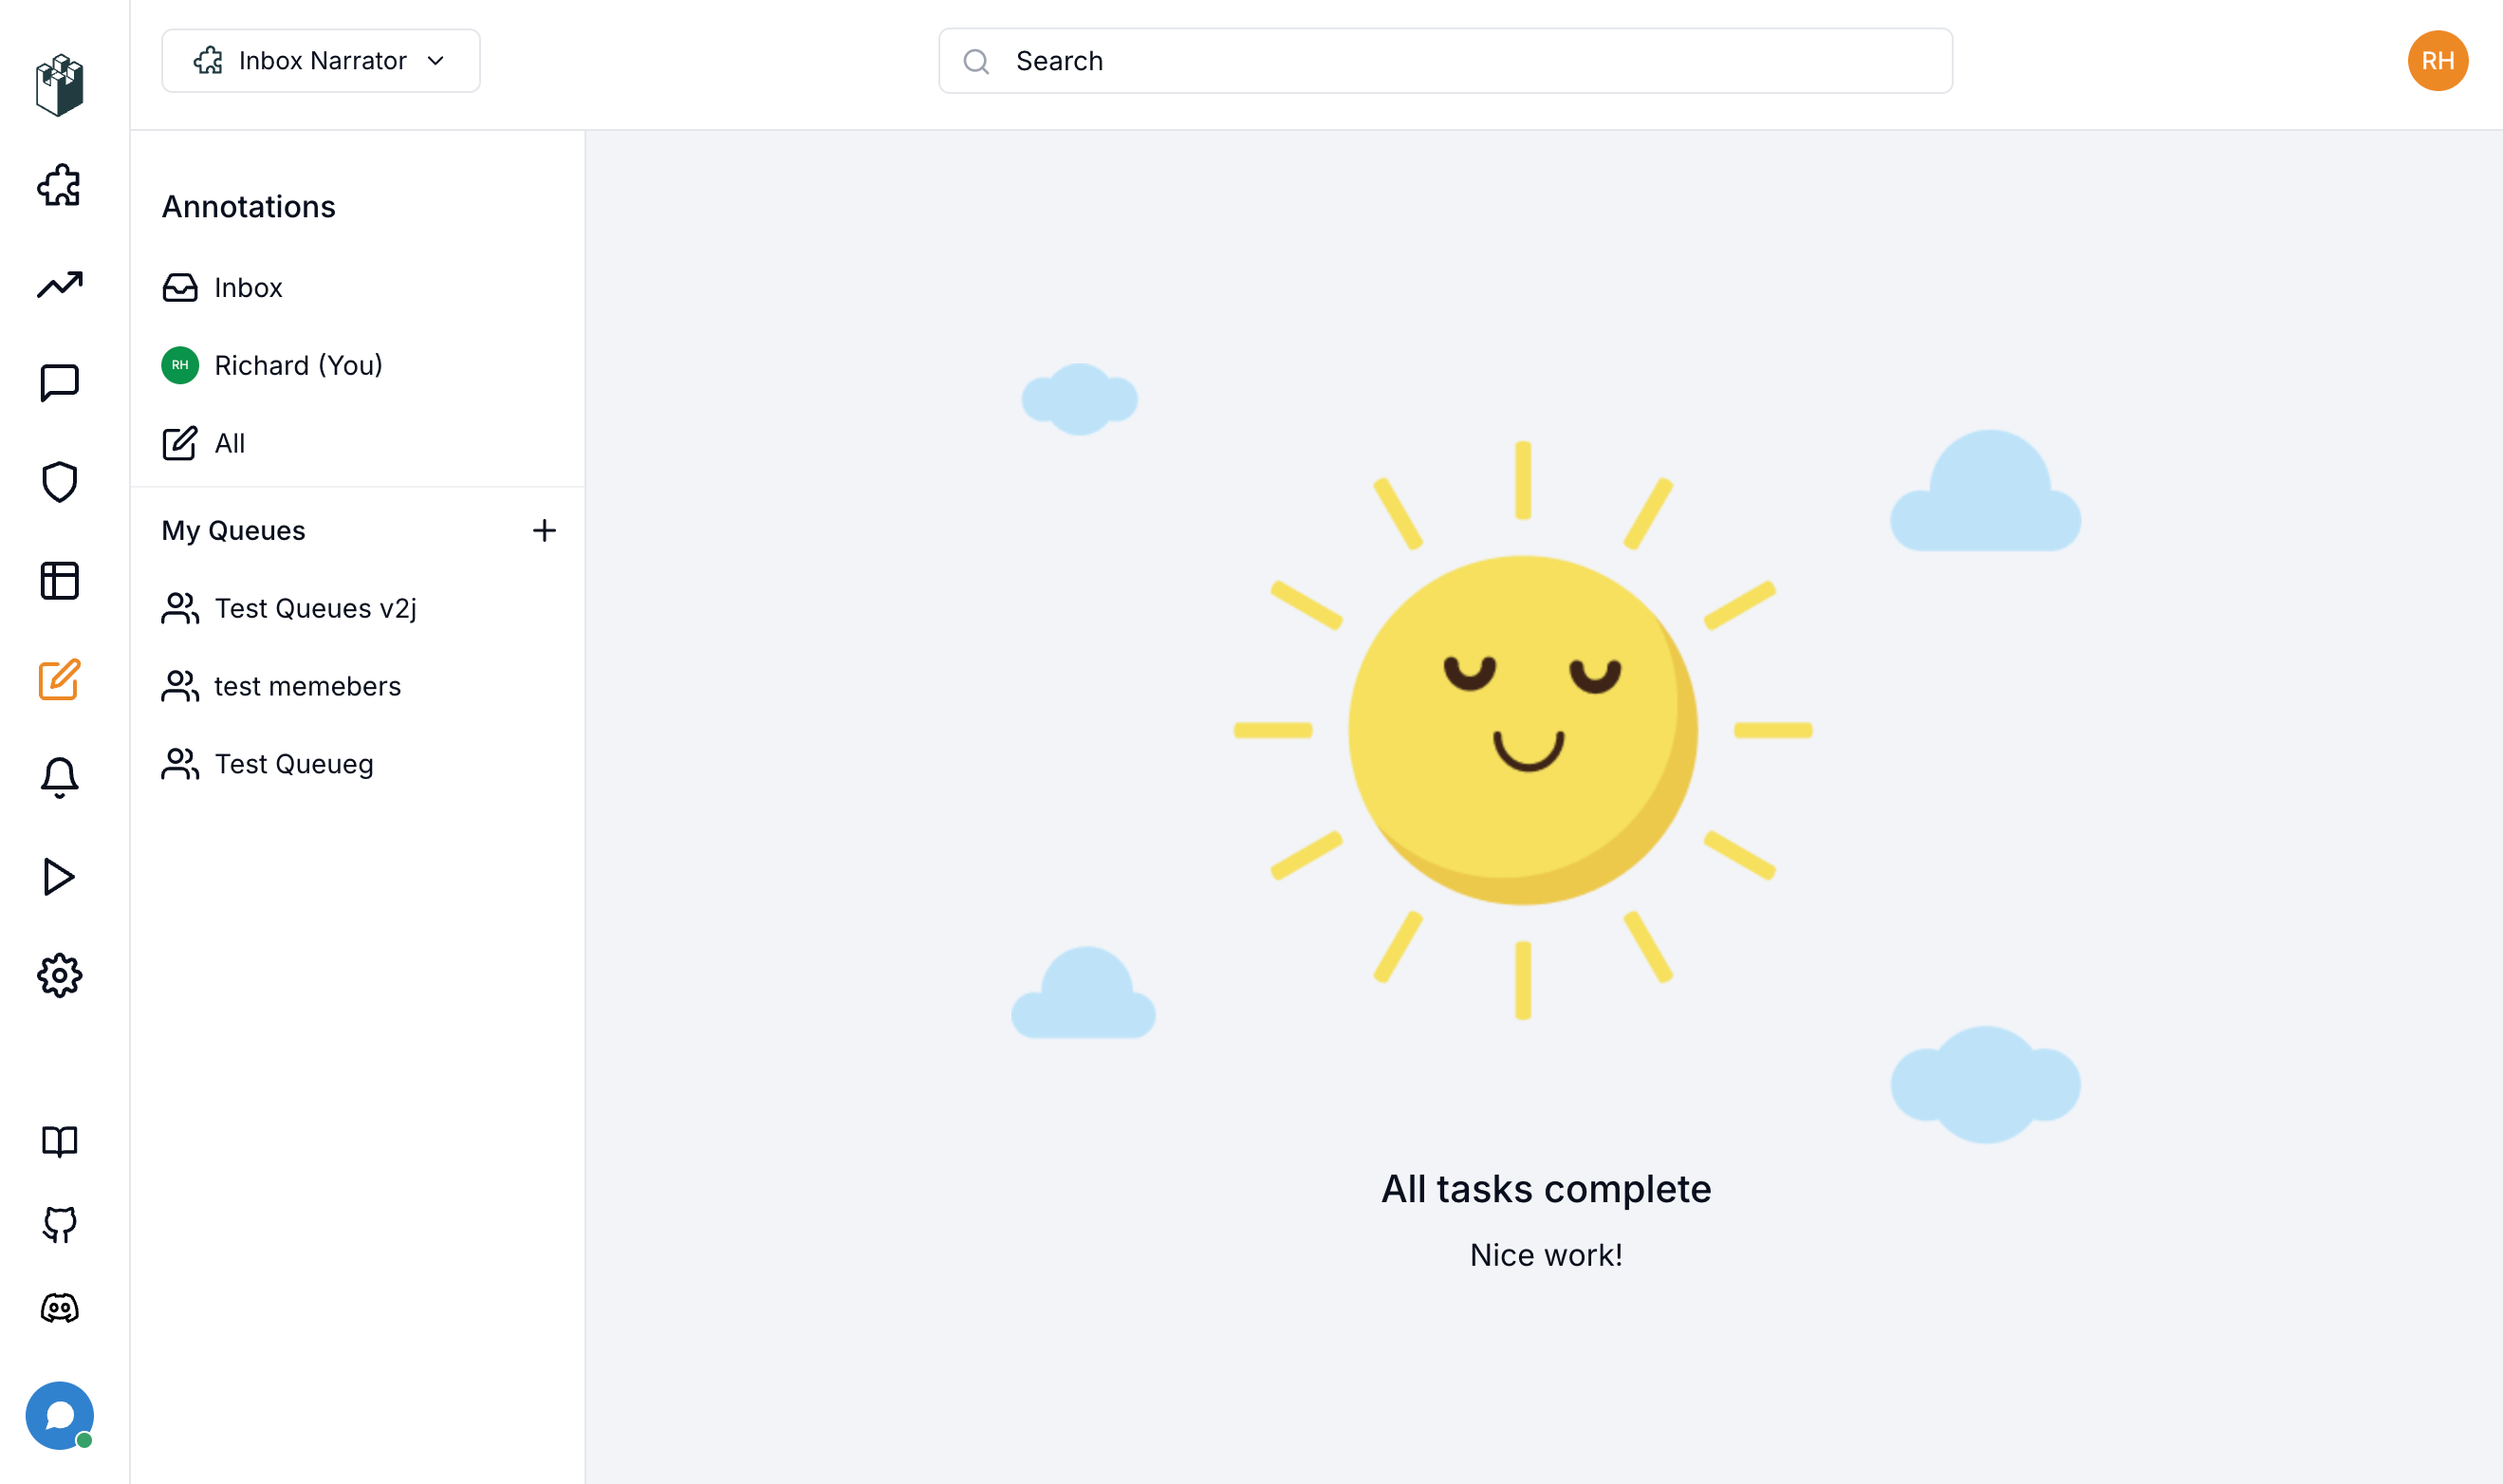
Annotation Queues
To get started with annotation queues, follow these steps:- Go to the annotations page.
- Click the plus button to create a new queue.
- Add a name for your queue, description, members and click on the “Save” button.

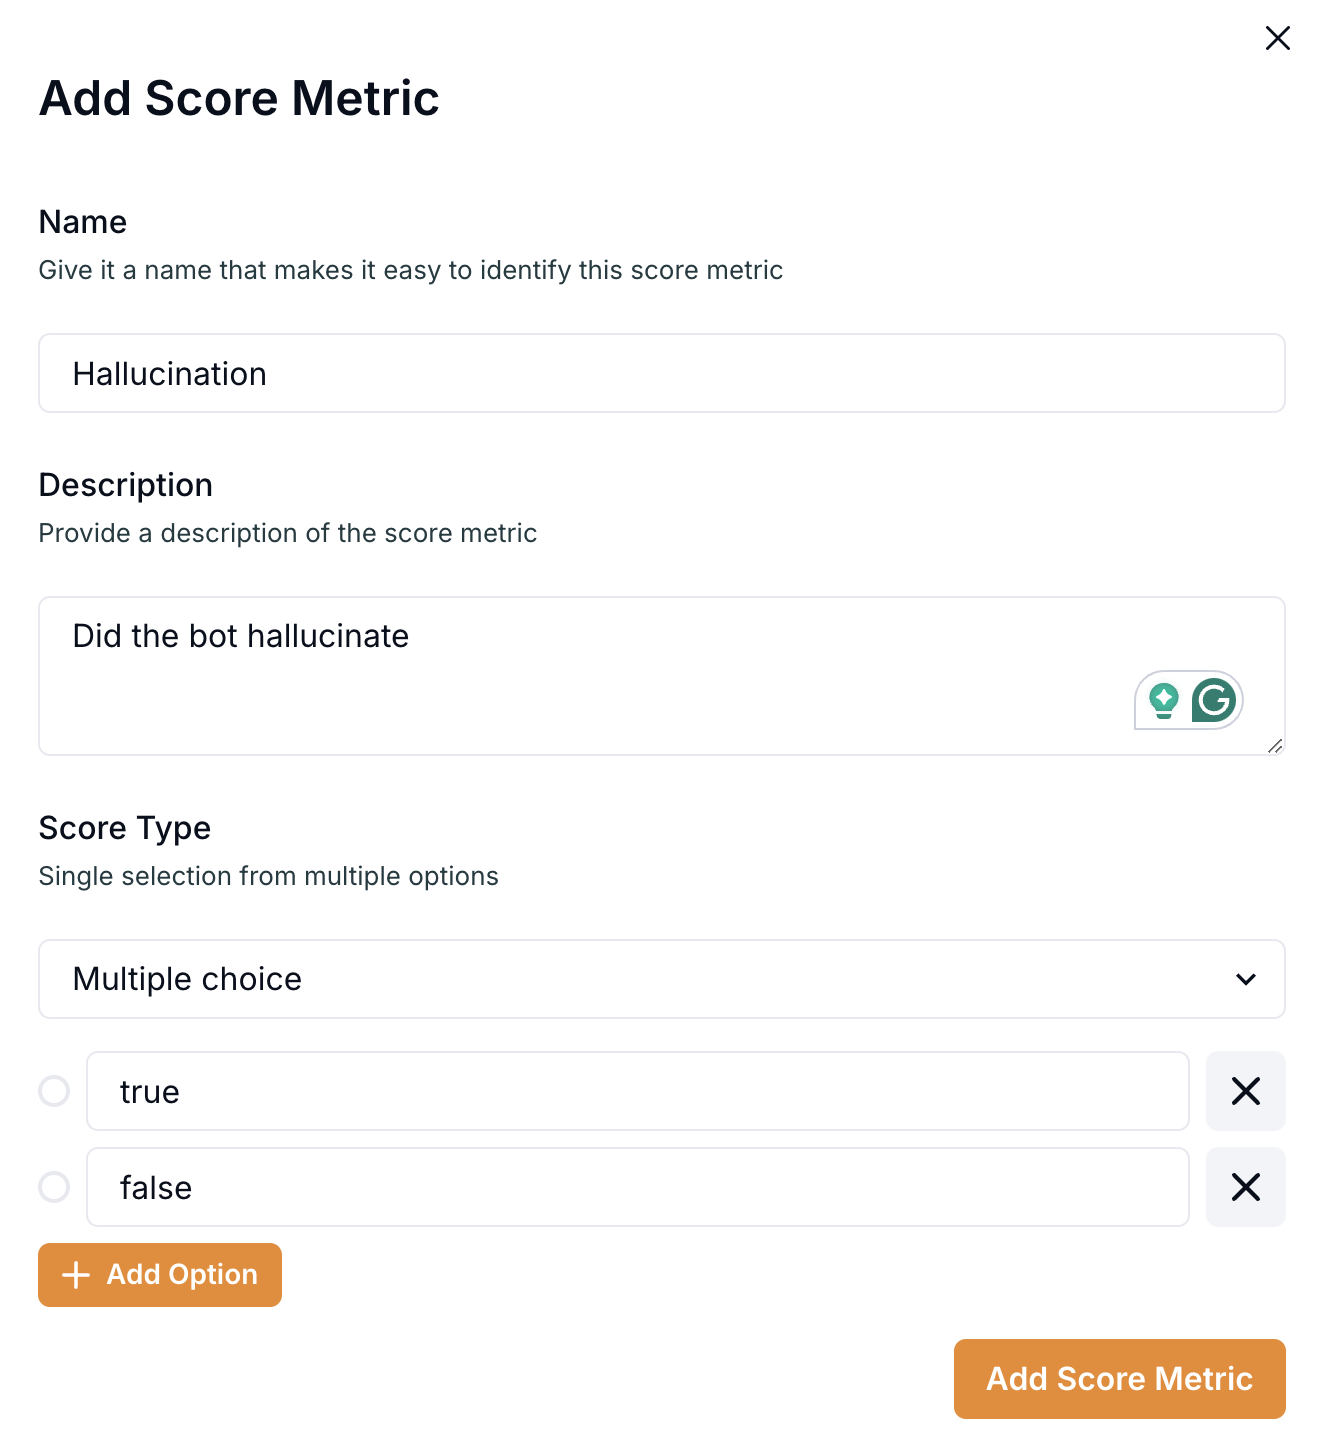
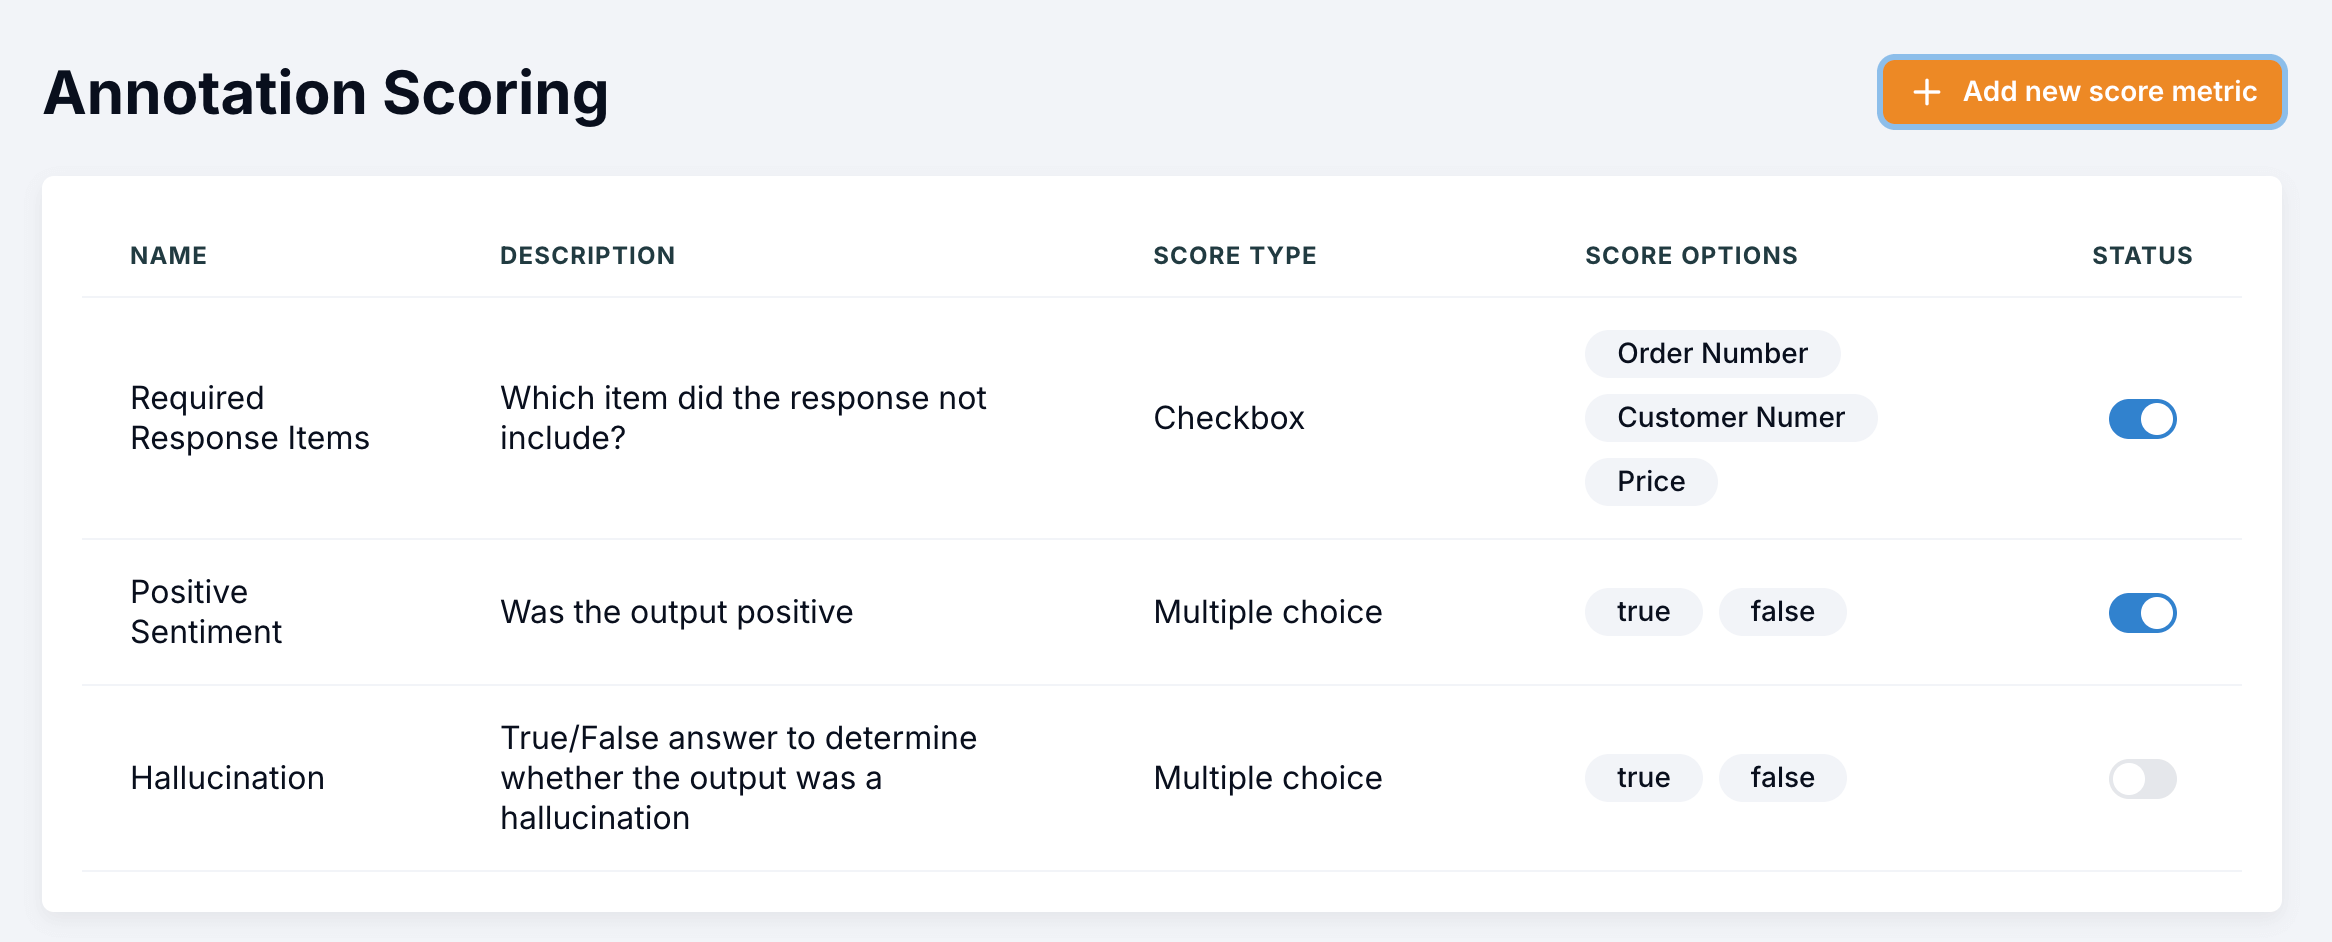
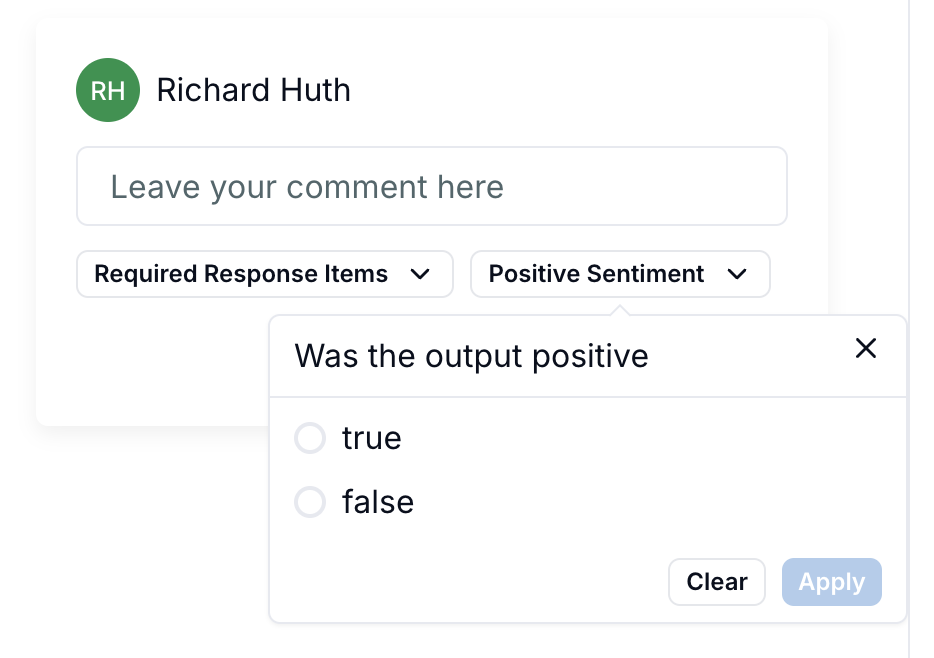
Annotation Scoring
We have developed a customized scoring system for each annotation. To get started, you will need to create your scores on the settings page. There are two types of score data you can choose from:- Checkbox: To add multiple selectable options.
- Multiple Choice: To add a single selectable option.
Score selection
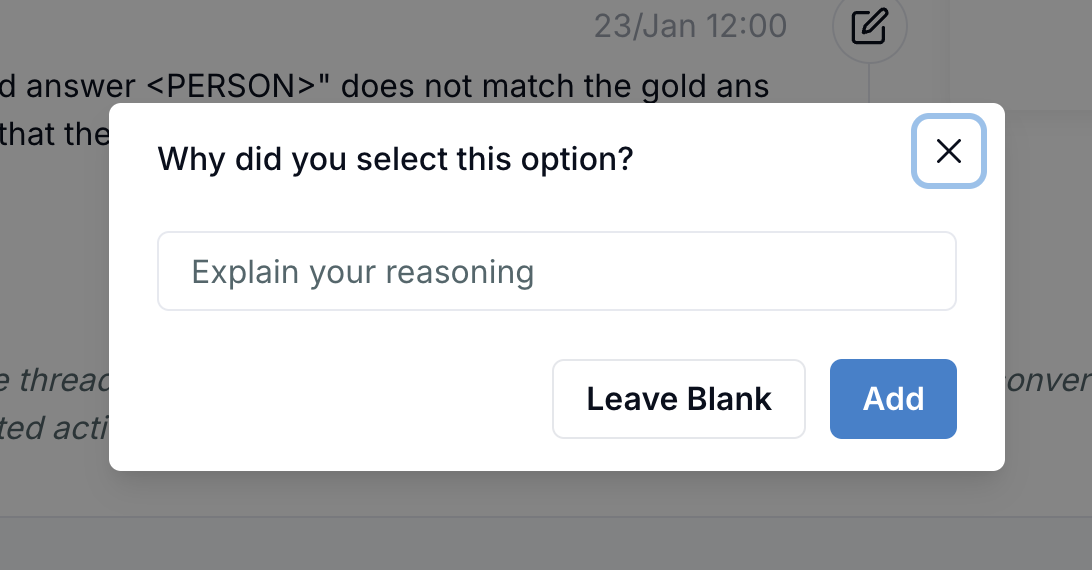
Score reason